Mastering the art of the stovetop chicken breast is perhaps the most essential skill in any home kitchen. Even as we enter 2026, with the rise of high-tech air fryers and precision sous-vide immersion circulators, the classic pan-seared chicken breast remains the gold standard for speed, flavor, and texture. If you have ever wondered, how long does it take to cook chicken breast in a pan, the answer is nuanced. While the traditional answer was a simple 10 minutes, modern culinary standards emphasize precision, food safety, and the “resting” science that turns a basic protein into a succulent meal.
In this comprehensive guide, we will break down the exact timing, the importance of thermal dynamics, and the pro-level techniques used by chefs to ensure that your chicken is never rubbery, dry, or undercooked. Whether you are prepping for a high-protein diet or cooking a quick weeknight dinner, this is the only resource you will need to achieve consistent, restaurant-quality results every single time you hit the stovetop.
Understanding the Variables of Pan-Seared Chicken

The primary reason most home cooks struggle with chicken breast is the assumption that all breasts are created equal. In reality, the cooking time for chicken breast is dictated by physics, not just a timer. The most critical factor is the thickness of the meat. A standard grocery store chicken breast is rarely uniform; it often features a thick, meaty lobe and a thin, tapering tail. This structural imbalance is the leading cause of dry, overcooked ends.
By 2026, the culinary consensus has shifted toward mechanical tenderization and leveling. Before you even heat your pan, you should aim for a uniform thickness of approximately three-quarters of an inch. You can achieve this by placing the chicken between two sheets of parchment paper and using a meat mallet or the bottom of a heavy skillet to gently flatten the thicker portions. When the chicken is uniform, the heat penetrates the protein evenly, meaning the entire piece reaches the FDA-recommended internal temperature of 165 degrees Fahrenheit (74 degrees Celsius) at the exact same moment.
Temperature management is another variable. If you pull a cold chicken breast directly from the refrigerator and drop it into a hot pan, the outer layer will sear instantly while the center remains icy, causing the exterior to toughen before the inside is safe to eat. Bringing your chicken to room temperature—about 20 to 30 minutes on the counter—before cooking significantly reduces the risk of an uneven sear and shortens the overall cooking time by approximately 15 percent.
The Science of the Perfect Sear: Heat and Fat
Achieving a golden-brown crust, known as the Maillard reaction, is the goal of every pan-sear. This chemical reaction between amino acids and reducing sugars creates the complex, savory flavors we associate with perfectly cooked meat. To achieve this, you need three things: a dry surface, a high-smoke-point oil, and a heavy-bottomed pan.
In 2026, we have access to superior cookware, but the classic cast-iron skillet or heavy-duty stainless steel pan remains the top choice. These materials retain heat exceptionally well, ensuring that the pan temperature does not plummet when you add the chicken. When choosing your fat, avoid butter at the start of the process, as the milk solids will burn long before the chicken is cooked. Instead, opt for refined avocado oil, grapeseed oil, or high-quality light olive oil. These oils have smoke points above 400 degrees Fahrenheit, allowing you to achieve a deep, mahogany crust without producing acrid smoke in your kitchen.
Remember, moisture is the enemy of the sear. If the surface of your chicken breast is damp, the energy from the pan will be wasted evaporating that water into steam. Always pat your chicken dry with a lint-free paper towel before seasoning. If you want an extra-crispy exterior, many chefs now recommend a light dusting of cornstarch or arrowroot powder on the surface, which creates a superior moisture barrier and results in a glass-like, golden crust.
Step-by-Step: The 2026 Standard for Pan-Cooking
To execute the perfect pan-seared chicken breast, follow this standardized procedure developed for modern home kitchens. Consistency is the key to success.
- Preparation: Flatten the chicken to a uniform thickness. Pat completely dry using paper towels. Season aggressively with kosher salt and freshly cracked black pepper.
- Preheating: Heat your skillet over medium-high heat. Add two tablespoons of your chosen high-smoke-point oil. Wait until the oil is shimmering and just beginning to show wisps of smoke.
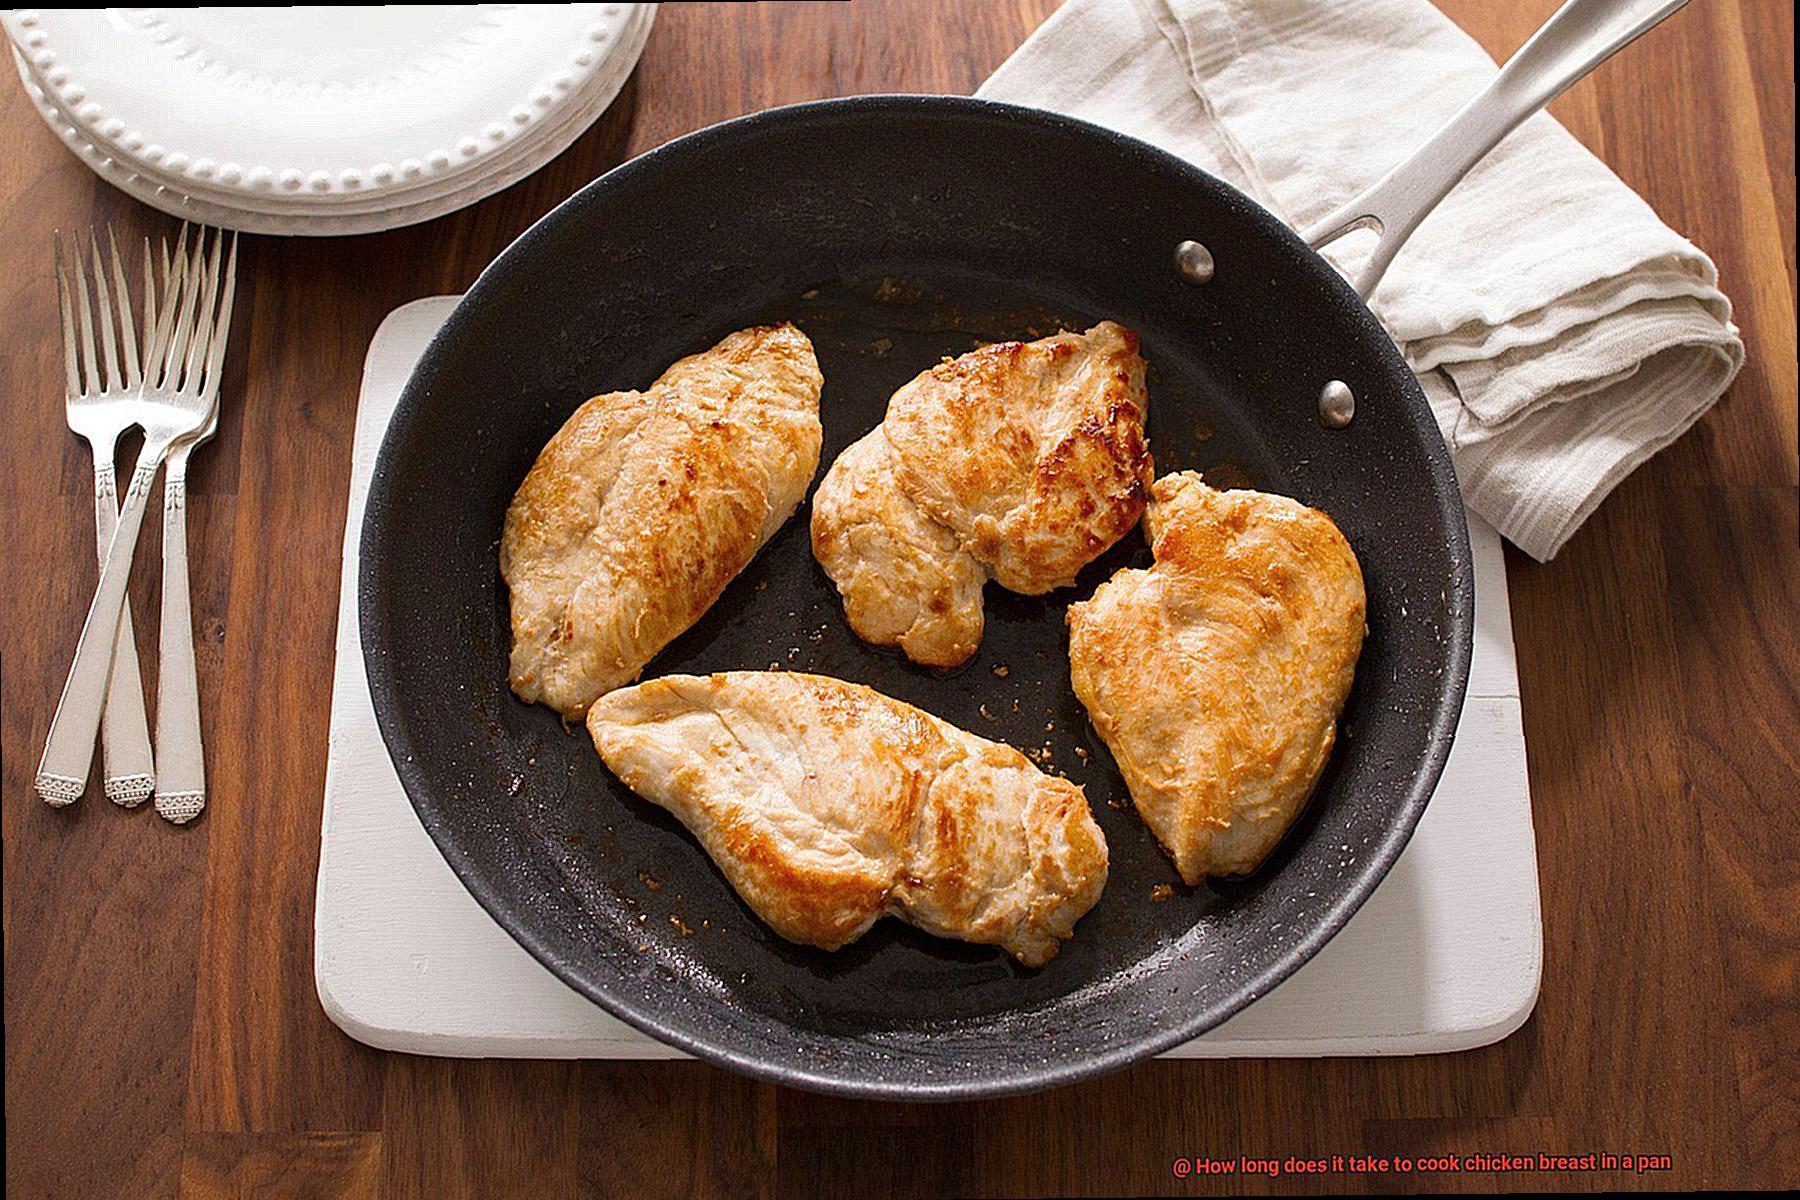
- The Initial Sear: Carefully place the chicken into the pan, laying it away from you to avoid oil splatter. Do not touch it for at least 4 to 5 minutes. This “hands-off” approach is vital for the development of the crust.
- The Flip: Once the chicken releases naturally from the pan—if it sticks, it is not ready—flip it carefully. The underside should be a deep, golden brown.
- The Finish: Continue cooking for another 3 to 5 minutes. If the chicken is thicker, you may need to reduce the heat to medium to ensure the center cooks through without burning the exterior.
- Validation: Use a digital instant-read thermometer inserted into the thickest part of the breast. You are looking for an internal temperature of 165 degrees Fahrenheit.
The Crucial Final Step: The Resting Period
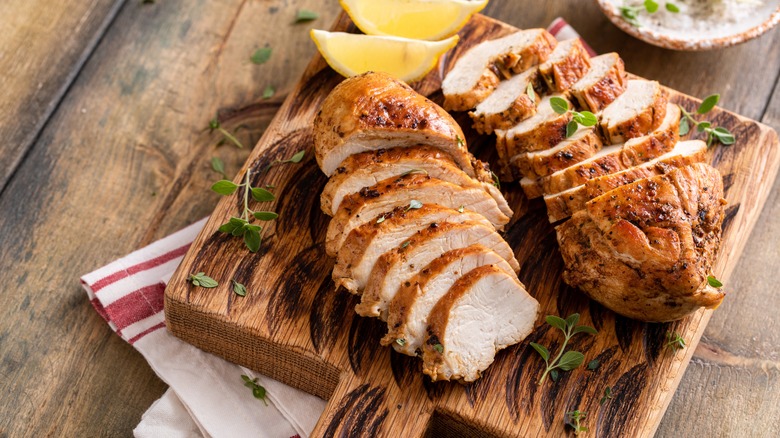
Even if you have mastered the timing, your chicken will be dry if you cut into it too soon. This is the most common mistake made by home cooks. When chicken is subjected to high heat, the muscle fibers contract and force the juices toward the center of the meat. If you slice it immediately, those juices will run out onto the cutting board, leaving the meat fibrous and dry.
You must allow the chicken to rest on a warm plate or a wire rack for at least 5 to 8 minutes after removing it from the pan. During this time, the internal temperature will continue to rise slightly—a phenomenon known as carryover cooking—and the muscle fibers will relax, allowing the juices to redistribute evenly throughout the breast. The result is a succulent, tender piece of meat that remains moist even hours later. In 2026, the use of a wire rack is highly recommended, as it prevents the bottom of the chicken from steaming in its own residual juices, preserving that hard-earned crust.
Troubleshooting Common Pan-Seared Chicken Issues
Even with the best instructions, problems can arise. Here is how to navigate the most common pitfalls:
- The Chicken is Burnt on the Outside but Raw Inside: Your pan was likely too hot, or the chicken breast was too thick. Lower your heat to medium and use a lid for the final two minutes of cooking to trap heat and steam the center.
- The Chicken is Rubbery: This is almost always a sign of overcooking. Because chicken breast is a lean protein with very little fat, it has a narrow window of perfection. Using a thermometer is the only way to avoid this. If you miss the mark by even 10 degrees, the texture will suffer.
- Lack of Flavor: If your chicken tastes bland, you likely didn’t season it early enough. Salt your chicken at least 15 minutes before cooking. This allows the salt to penetrate the muscle tissue through osmosis, seasoning the meat from the inside out.
- Sticking to the Pan: This happens when you try to flip the chicken before the proteins have sufficiently seared. If the meat is stuck, wait another 60 seconds. The Maillard reaction naturally creates a release point once the crust is formed.
Frequently Asked Questions
How can I tell if my chicken is cooked without a thermometer?
While a digital thermometer is the only 100% accurate method, you can use the “touch test.” A perfectly cooked chicken breast should feel firm but yield slightly to pressure, similar to the fleshy part of your palm below the thumb. However, in 2026, digital thermometers are inexpensive and highly accurate, making them a mandatory tool for food safety.
Should I cover the pan while cooking?
Generally, you should leave the pan uncovered to ensure a crispy crust. However, if you are cooking a particularly thick piece of chicken (over 1 inch), you can cover the pan for the final 2 minutes of the cooking time. This traps heat and helps cook the center without requiring the exterior to be exposed to high heat for longer.
Is it better to cook chicken in butter or oil?
Use oil for the searing process because of its higher smoke point. If you want the flavor of butter, add a tablespoon of cold butter and some fresh herbs (like rosemary or thyme) to the pan during the final 60 seconds of cooking. Baste the chicken with the foaming butter to add a rich, nutty finish without burning the milk solids.
How long can I store cooked chicken breast?
Properly stored in an airtight container, cooked chicken breast can be refrigerated for up to 3 to 4 days. For the best quality, reheat it gently in a pan with a splash of water or chicken stock to prevent it from drying out, rather than using a microwave.
Conclusion
Learning how long to cook chicken breast in a pan is about more than just setting a timer; it is about understanding the interaction between heat, fat, and protein. By preparing your chicken to a uniform thickness, choosing a high-smoke-point oil, and respecting the resting period, you can elevate a simple weeknight staple into a culinary delight. As we move through 2026, the focus in the kitchen continues to move toward precision and technique. By investing in a reliable digital thermometer and embracing the patience required for a proper sear, you will ensure that you never have to deal with dry, rubbery chicken again. Happy cooking!